


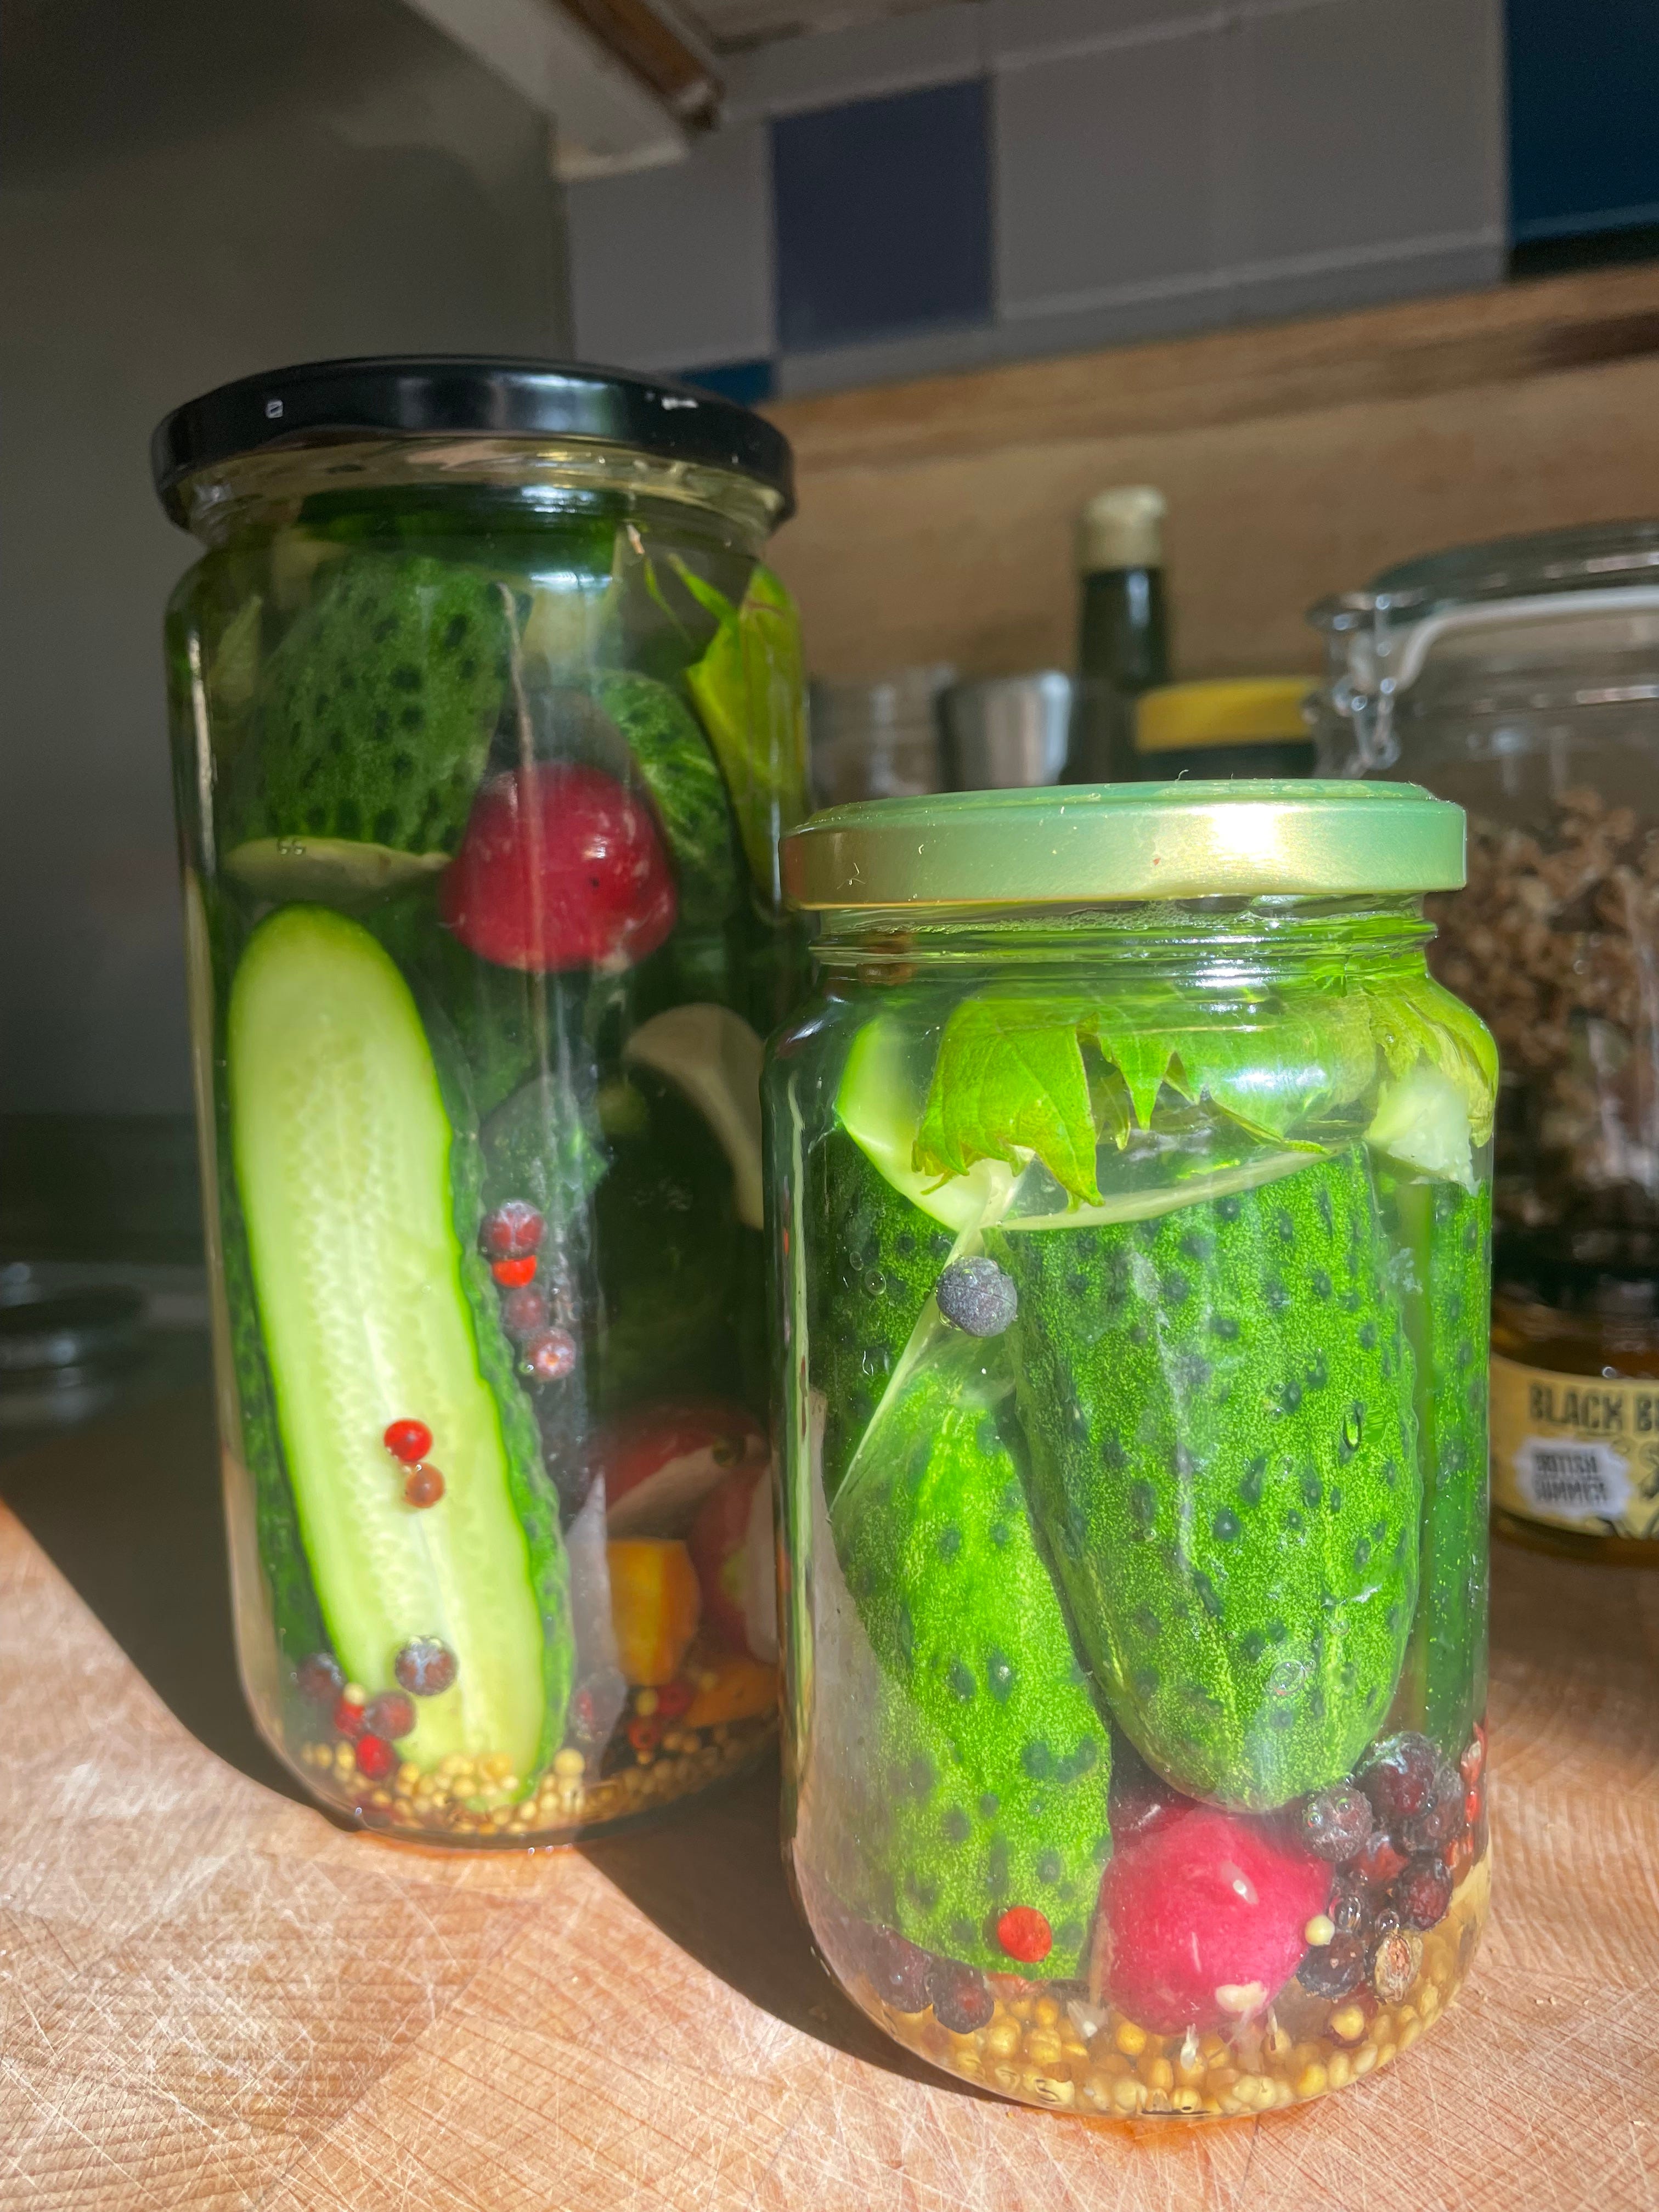
Classic pickles (aka gherkins)
Crunchy, tangy, loves your burgers AND you can deep fry them.

When we talking about vegetable fermentation, we’re mostly dealing with lactic acid fermentation. So-called because the primary bacteria cultures at play are lactic acid bacteria - and there are a few rules they like to play by.
We’ll focus on the two below:
Lactic acid fermentation must happen in anaerobic conditions. AKA, in the absence of oxygen! That means that your produce needs to be fully submerged under a liquid.
Lactic acid bacteria can tolerate a low percentage of salt. This works in our favor, because other molds or unwanted microbes don’t like salt. By adding the right amount - 2% of the total weight is the standard - you’re effectively creating a hospitable environment for the LAB to thrive while keeping the others at bay. The LAB get a leg up and are encouraged to colonise your produce. Note that you don’t actually need salt for fermentation to occur, it’s just optimal for the aforementioned reason - plus it makes your ferment tastier!
To achieve the conditions above, you need a brine.
Self-brining ferments are made from vegetables that hold enough water that can be drawn out to create a brine, usually by adding 2% of the total weight in salt; when the vegetables are compressed tightly in a jar, the liquid will rise and completely submerge them. This is how sauerkraut is made, but the process can be applied to other produce as well - citrus, carrots, or cucumbers for example, when grated or sliced, usually create sufficient brine.
Brined ferments are fermented by making a separate salty brine and adding it over the vegetables - this is the typical process for vegetables that are fermented whole or in large chunks, such as when cucumbers are turned into gherkins. Some fermenters increase the salt percentage when using this method (around 3-4%) because the salt takes longer to permeate and flavour those larger chunks, which means there’s a higher risk of undesirable microbes making it their home before the LAB can take hold.
This may also be advisable when fermenting sweeter produce, like fruit, beetroot, carrots, etc. The higher sugar quantity is more likely to attract yeasts such as Kahm yeast - this one’s harmless, but can throw the flavor.
But when it comes to classic cucumber gherkins, I find that 2% works just fine.
(Note that not all brines are exclusively comprised of water and salt!
Some are made with vinegar, some have added sugar, some may even have alcohols - or a mix of all of the above. This can be a fantastic way to add more layers of flavor, making for a more complex ferment. But let’s start with the basics for now - more to come on brined ferments, I promise!)
We can all agree that crunchy gherkins are best, yes?
Crunchiness can be assured through a number of ways:
Keep the fermentation period short! The longer a ferment sits in its salty, acidic brine, the more it will breakdown and soften up. Eat your gherkins within a week of fermenting when they’re still firm.
Add a source of tannins. A grapevine leaf, raspberry or blackcurrant leaf, or even tea leaves (although these will also impart flavor) will help keep them crisp.
For cucumber gherkins specifically, cut off the flowering tips, which contain enzymes that contribute to softening.
Choose small, firm cucumbers fit for the task - pickling cucumbers or Lebanese cucumbers work well, whilst larger cucumbers (the ones you’d find in most supermarkets) are more likely to go limp.
Homemade fermented gherkins are absolutely addictive. They’re fresh-tasting, slightly zingy from the fermentation, and go with absolutely anything. You can, of course, play around with the spices!
Classic gherkins
Ingredients (for 500g jar):
4-5 small pickling cucumbers
2 garlic cloves, peeled
1 tsp mustard seeds
1 tsp black or pink peppercorns
1 grapevine leaf (optional; the tannins keep the gherkins crunchy)
water
fine sea salt
Instructions:
Wash and halve the cucumbers length-wise.
Put your jar on a scale, and weigh the cucumbers into it, tucking them tightly. Add enough water to cover, and note the total weight of cucumbers + water.
Calculate 2% of that total in salt, empty the water into another bowl, and add the salt into the water so it can dissolve separately.
Take the cucumbers out of the jar; put the seeds and garlic cloves at the bottom of the jar then tightly pack in the cucumbers on top.
Pour the salty water over the cucumbers, then tuck in the grape leaf if using.
Cover with a tea towel secured with a rubberband and let ferment at room temperature for 4-7 days. Push the veg down every day to re-submerge it (or use a fermentation weight).
Taste every day, and when it’s to your liking, seal the lid and refrigerate. Label your jar with the date and contents.
Note: the brine will get cloudy, this is completely normal. Like kimchi brine, pickle brine is incredibly versatile for marinades, dressings, and to drink - make picklebacks with it!
Learn to ferment with me! Upcoming Courses:
March 10th (couple more spots left!)
11am-2pm
The Hornbeam, Leyton
March 20th
1-4pm
The Mill, Walthamstow
March 24th (just one more spot!!)
11am-2pm
The Hornbeam, Leyton