The fermenter goes foraging
Harnessing the power of the wildest of microorganisms, vehicled by elderflower.
I’ve spoken about fermentation as a live process, a result of living, breathing microorganisms going about their day-to-day activities of, well, being alive. But know that fermentation can often be (and originally always was) wild.
That means that the strains of microorganisms making fermentation happen come from the environment of the ferment - they’re naturally present in the air, on the surface of the ingredients and equipment, and even on the hands of the fermenter. This is in contrast to most forms of commercial fermentation, where specific strains of bacteria and/or yeasts are specifically chosen to inoculate a ferment, based on their performance and consistency (and they are often made in controlled environments to ensure wild strains don’t interfere)!
Conversely, wild fermentation (also called spontaneous fermentation) can be chaotic, inconsistent, and tricky to control - the process will never be quite the same when you repeat it! But it can also produce far more interesting ferments with a much wider variety of cultures, which is GREAT if you’re looking to diversify your gut microbiome.
When we ferment at home, we’re usually engaging in wild fermentation; and even if we get gifted a kombucha scoby, kefir grains, or sourdough starter with their pre-existing set of bacteria and yeasts strains, the wild microcritters in our kitchen will make their way into the mix, too. Fermentation’s very own terroir, occurring on a microscopic level.
There are no wilder microorganisms than those latched onto wild foods.
Maybe this is why fermentation and foraging seem to go so nicely hand-in-hand; that abundance of wild microorganisms means foraged plants and fungi will almost certainly ferment, and fast.
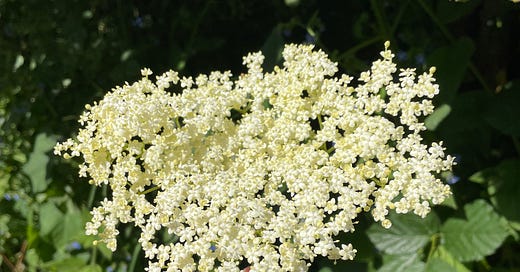
Spring heralds a bounty of blooms, growths, and foliages bringing vibrant colors and life after a long winter, along with some much-loved foraged delights. Elderflower is one such bloom: ubiquitous across England, growing in hedgerows, woodlands, parks, and wastelands - come May, you can’t escape that unmistakable floral, citrusy-sweet scent, even in an urban centre like London.
Pick the flowers that have fully bloomed, never too many from one bush (you’ll want to leave some for others, not to mention for the excellent berries that’ll ripen in late summer!), and preferably on a sunny morning when the blooms are at their peak. Use them within a few hours, lest they start to produce an unpleasant compound that gives off the smell of cat pee…
Elderflower is an excellent flavoring agent which can be added into SO many recipes. It lends itself incredibly well to infusions in fat-rich dairy (fat being a vehicle for flavor), but also to ferments. Flavor compounds can get wildly altered once fermented (and sometimes NOT in a pleasant way! Tarragon I’m looking at you!!) but luckily elderflower retains its aromatic integrity.
Some of my favorites? An elderflower fermented soda (similar to elderflower cordial but less sweet with the distinctive lactic acid tang), and elderflower-fermented asparagus. Seasonal produce go exceptionally well together, and foraged ingredients are no exception.
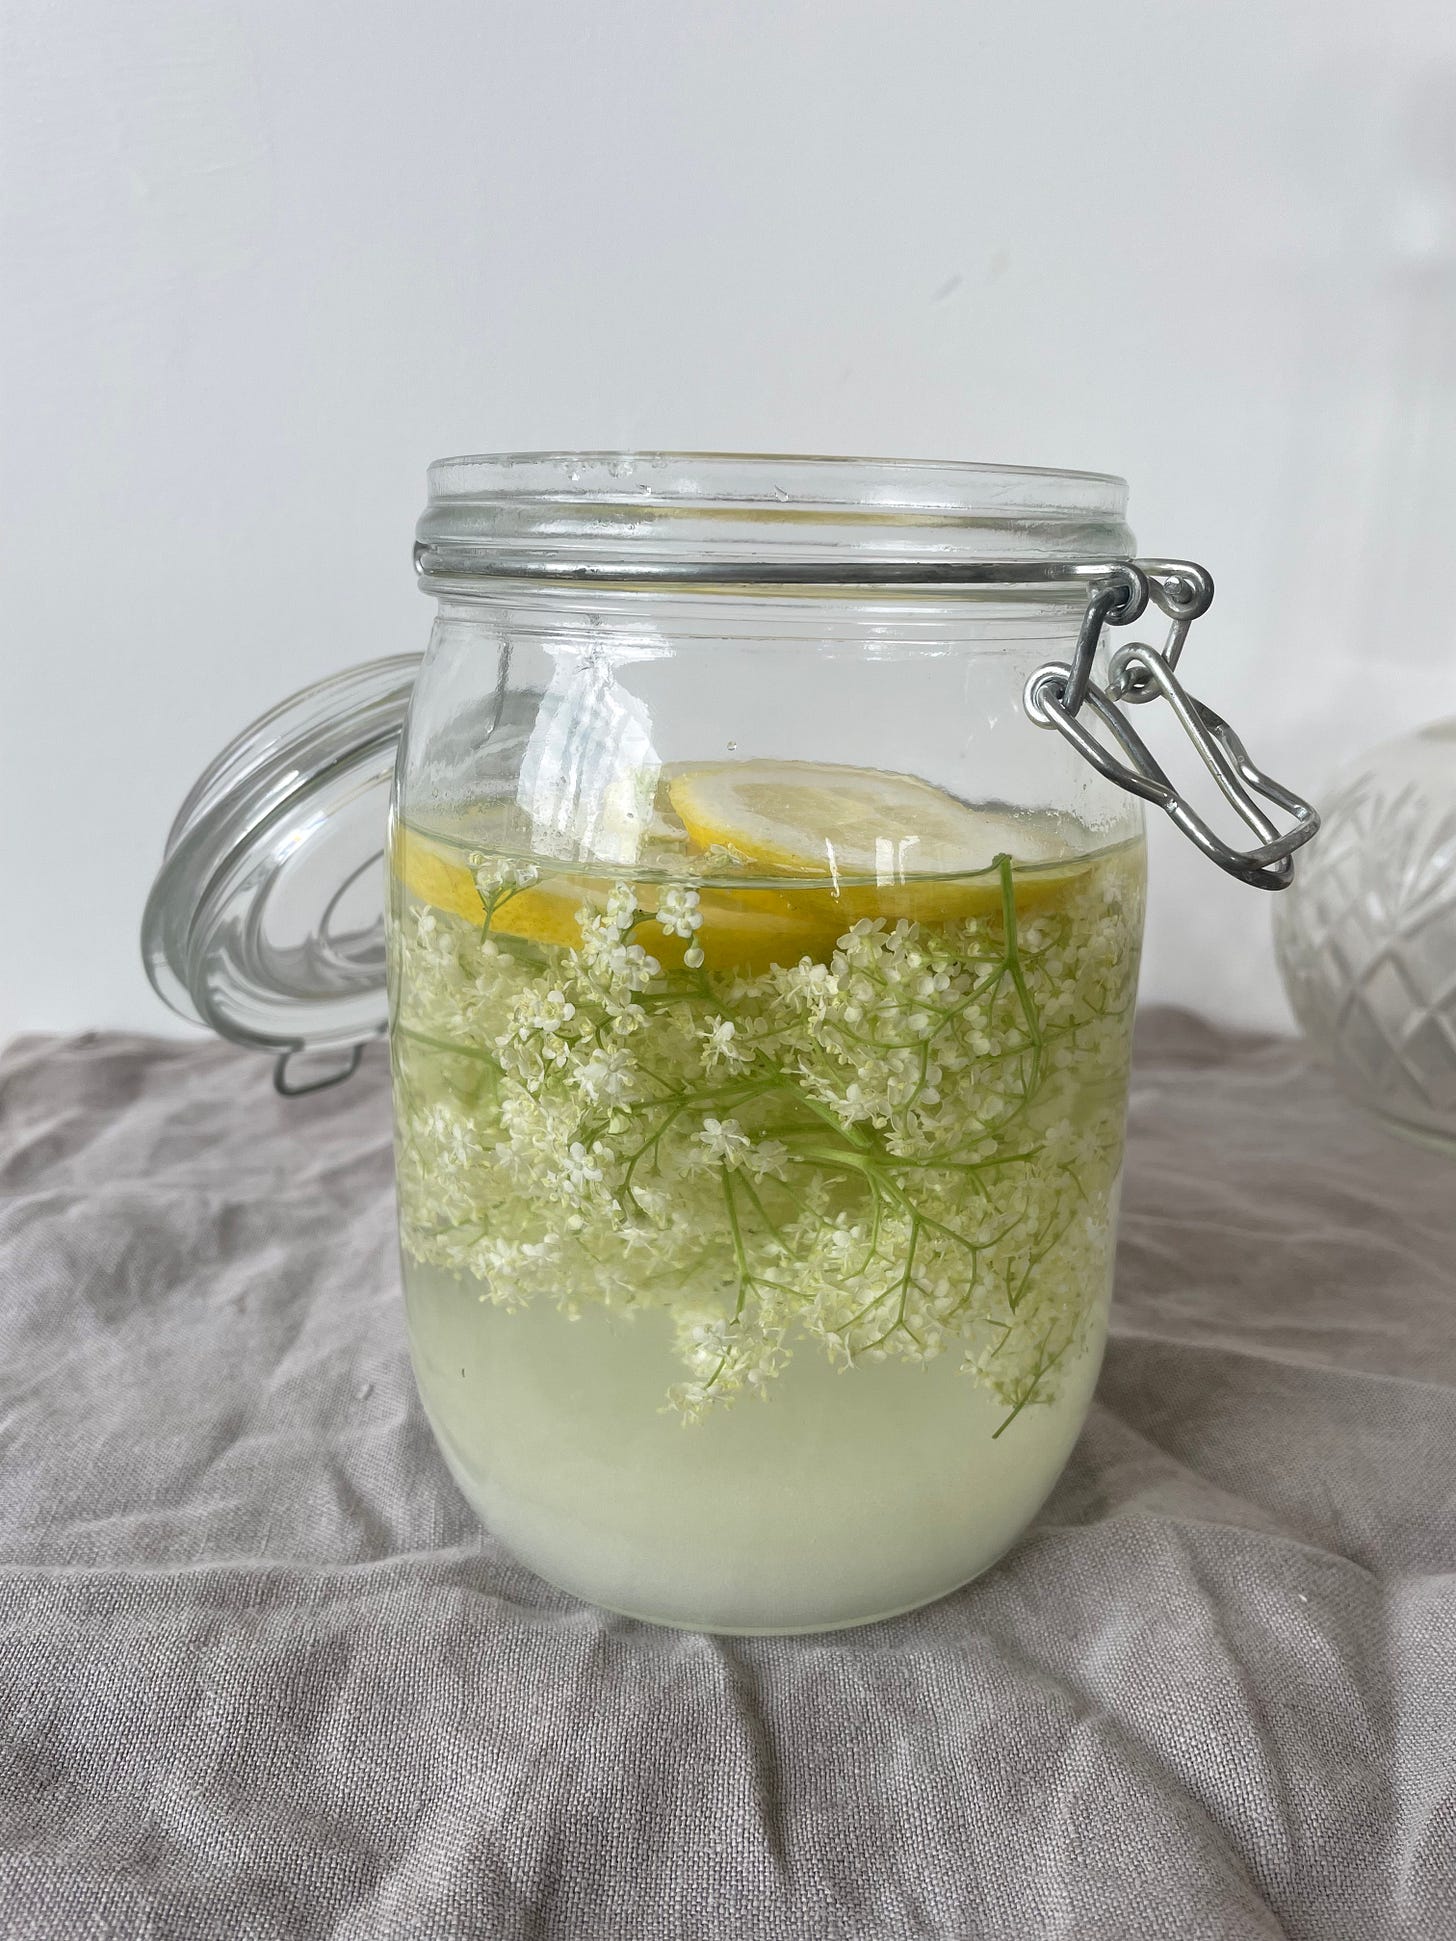
Elderflower soda
For a 1lt jar
Ingredients
5 heads of elderflower
Half an orange or lemon, sliced
900ml filtered water
300g organic caster sugar
Instructions
Leave your elderflower to hang upside down for 1 hour after picking to let any bugs crawl away; pick out any ones remaining. Don’t wash the elderflower!
Cut the large stems away (they give off a bitter flavor) and put the flower clusters in your cleaned jar (no need to sterilise), along with the citrus slices and the sugar.
Pour in your filtered water and stir to dissolve the sugar.
Let ferment at room temperature, covered with a tea towel secured with a rubber band to release the CO2 build-up and keep out bugs. Check it every day to make sure no mold is growing and to push your elderflower back under the liquid.
After 3 days, fermentation should be underway - taste to check whether the soda is getting tangy and less sweet (as the microorganisms eat away at the sugar and develop lactic acid).
By day 4, you can start the ‘second fermentation’ - the fizz-making stage where carbonation gets trapped in the bottle. Strain the flowers and citrus out and pour the liquid in a bottle - a plastic bottle will help you gauge carbon dioxide activity by swelling up when there’s gas build-up. If you are using a glass bottle instead, just make sure you open it once a day, just a bit, to release some of the gas build-up and avoid the dreaded fermentation explosion. Ferment for 2-3 more days, until the fizz is nicely developed!
Enjoy over ice, with seltzer, or use as a replacement for tonic water in cocktails.
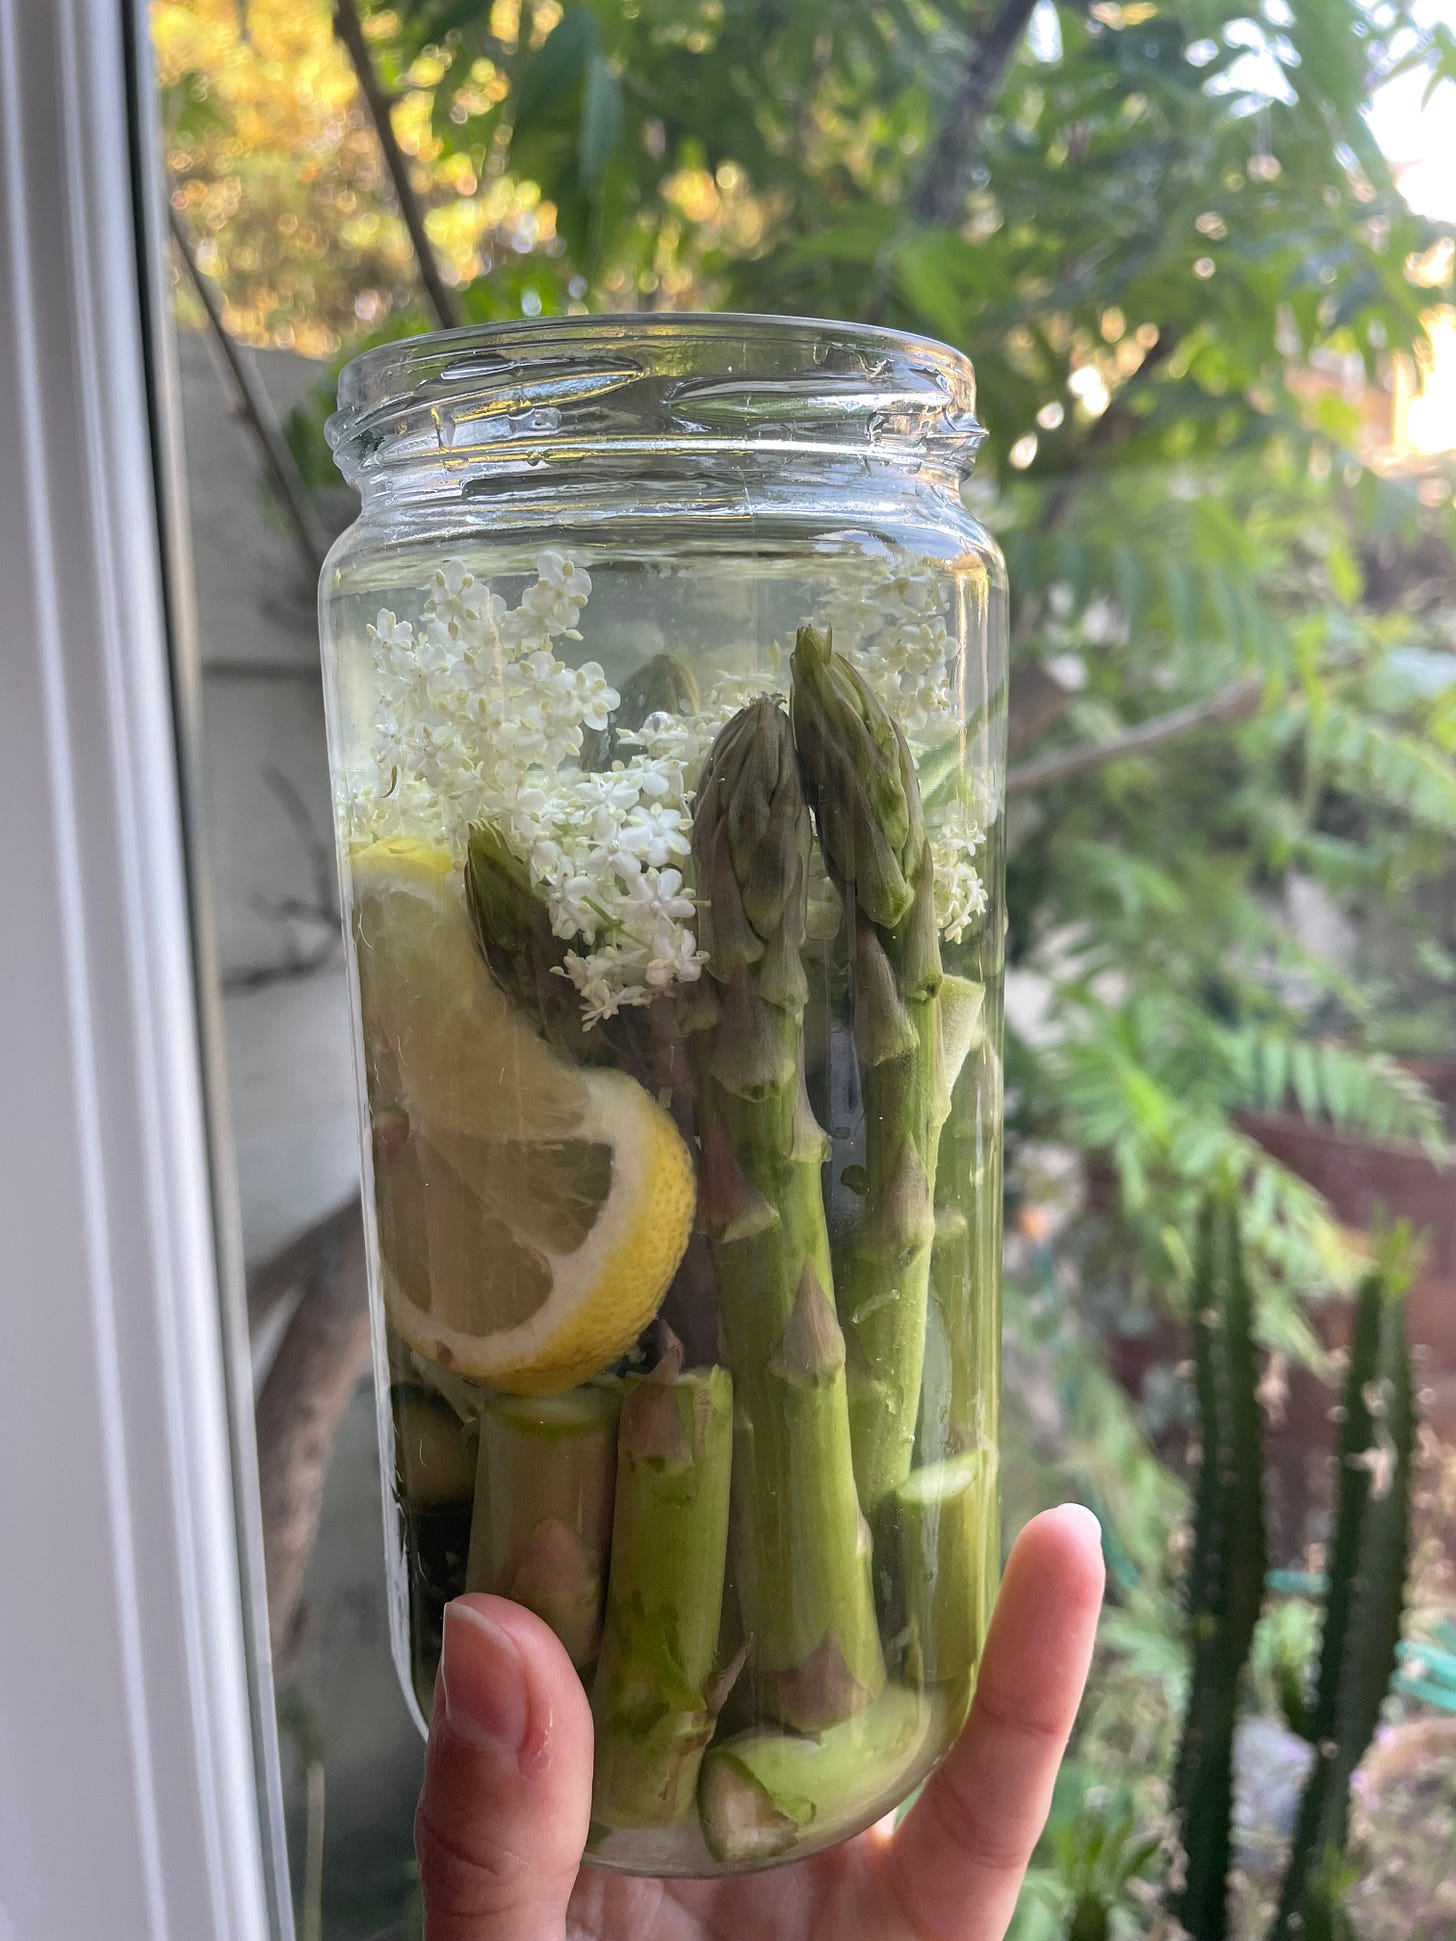
Elderflower-fermented asparagus
For a tall, 500ml jar
Ingredients
One bunch of asparagus (green or white)
2-3 heads of elderflower
2 slices of lemon
Fine sea salt
Pink peppercorns (optional)
Instructions
Chop the woody ends off the asparagus and discard. Place them upright into the jar and make sure they fit comfortably, leaving 2 inches from the mouth of the jar. Shorten the long ones by snapping the ends.
Put your jar on a kitchen scale and tare the scale to 0g. Place the asparagus (snapped bits and all), the lemon, and the elderflower in the jar. Fill the jar with water so everything is covered, leaving about an inch of space from the mouth of the jar.
Note the total weight and calculate 3% of that number; that’s your weight in salt. Weigh that into the jar, stir to dissolve, add the peppercorns if using, and cover with a tea towel secured with a rubber band (to release the CO2 build-up and keep out bugs).
Keep the jar on your countertop, out of the sun, and check in on it every day. Push everything down daily to make sure nothing stays above the water level for too long. Smell and taste regularly to assess the development of lactic acid; as the LAB take over, the brine will acidify, seasoning and gently softening the asparagus. The colour will get cloudy, and some fizz will develop.
When the asparagus are noticeably tangy and fizzy, but still crunchy (this happens after one week in my late-spring kitchen), pop the lid on and store in the fridge.
Shave into salads, use in pasta dishes, or eat as is for a gorgeous pickle to accompany your meal.
Learn to ferment with me! Upcoming Courses:
Lactic Fermentation (in-person)
June 9th - 11-2pm Hornbeam Cafe, Walthamstow
Lactic Fermentation (in-person)
June 23rd - 11-2pm Hornbeam Cafe, Walthamstow


